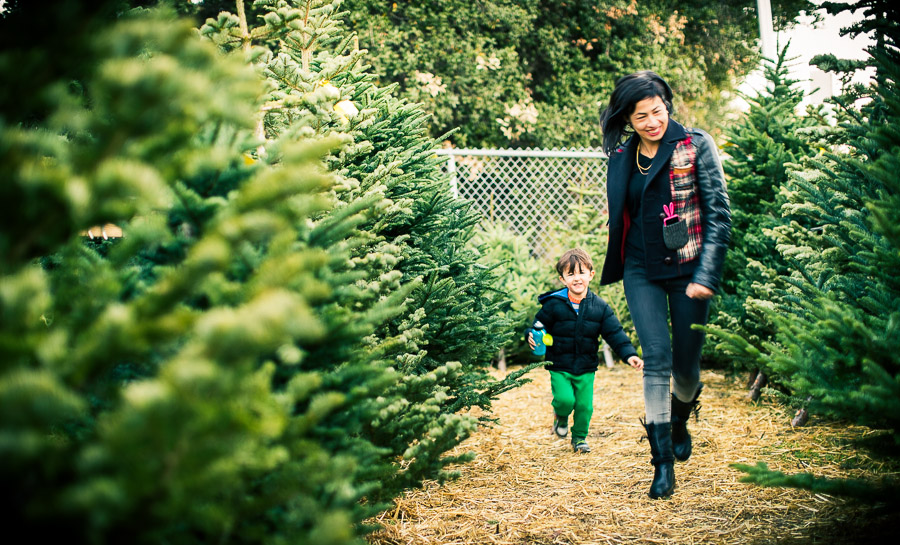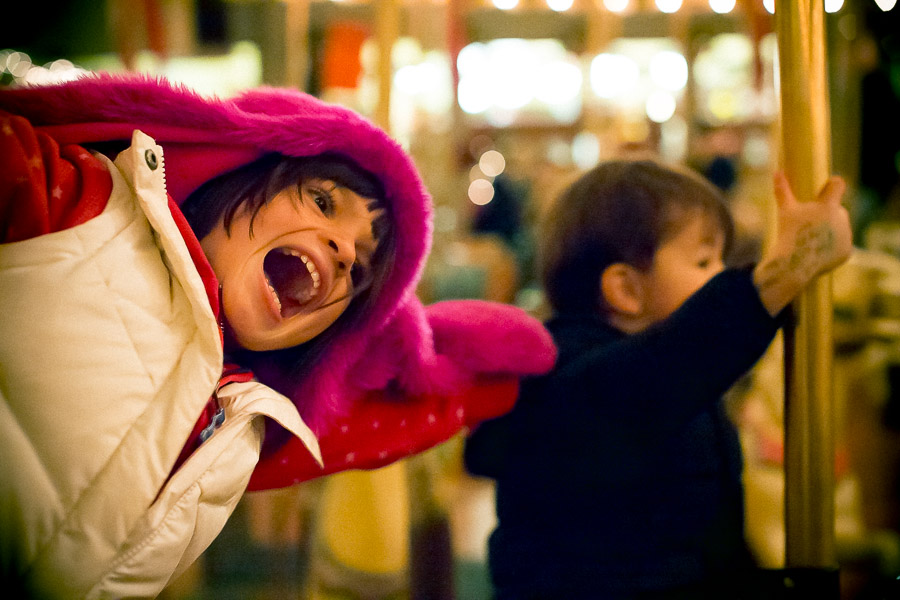
Yesterday was a big family Christmas-type day. We picked out our tree, hung the lights, and visited Santa. Usually we wait in line to see Santa, but on this day he was taking a break, helping to run the merry-go-round. My son and his friend were finishing up their ride when they spotted him. He came over to do the Santa thing. And suddenly I realized that Santa was happening right now, whether I was ready or not.
But I was ready.
I posted the photos that evening, and a few friends asked, in a flattering and kind way, how I always get such nice shots. And the answer is not a new one, but as I replied, I realized that it is a valuable one to repeat.
Christmas is coming. Here’s how to take some good photos.
Buy a DSLR
Step one is to put your phone away. Step two is to, for the time being, ignore all the excitement about mirrorless cameras. There are some great ones, but this is my advice, and I use an SLR.
Buy literally any DSLR. The cheapest ones you can get these days are crazy good. There’s the Canon Rebel line, and the Nikon D3200. Heck, buy a used one from a couple of years ago.
Buy the body only. The kit lens that comes with these inexpensive SLRs is not worth the plastic it’s stamped out of. If your inexpensive DSLR is not available without a lens, buy it and literally throw away the lens. Into a landfill. Directly onto endangered waterfowl. I’m serious.
You just spent $400 or so. I’ve bought many pocket cameras that cost more.
Buy a “Fast 50”
The oldest advice about photography is still the best. A “fast 50” is the cheapest, best lens. On your inexpensive DSLR, 50mm is a portrait lens, which means it’s good for taking pictures of people—which are the only pictures anyone cares about.
- Canon’s 50mm f/1.8 is little more than $100. It’s made of cheap plastic on the outside, but on the inside it’s made of pure photolookbetterium.
- Nikon’s 50mm f/1.8 is a little more expensive, but its ancestry traces back to some of the best stills lenses ever made.

Use Aperture Priority Mode and Shoot Wide Open
You just bought a lens with a large maximum aperture. That means that the little diaphragm in your lens can “open up” wider than most other lenses, letting in more light. So use it—shoot in Aperture Priority mode, and set your aperture to the smallest possible number. In the case of the above lenses, that’s 1.8.
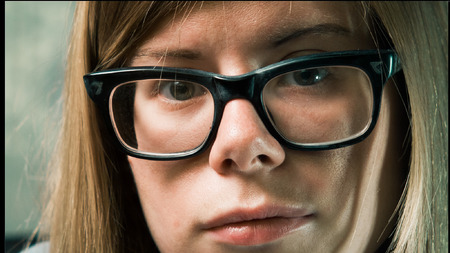
Shooting wide-open will result in two things: First, you can shoot in lower light, and even capture fast motion like kids on a carousel. Second, you’ll get that wonderful shallow depth of field that mushes busy backgrounds into pleasing blobs of light.
Use Auto ISO
Today’s DSLRs can produce usable images at very high ISOs. The higher the ISO, the less light you need. High IOS images are more noisy, but noise is preferable to motion blur.
By letting your camera choose your ISO for you, and enforcing a wide-open f-stop using Aperture Priority mode, you’re instructing your camera to choose an ISO that will get you an acceptably fast shutter speed for whatever lighting conditions you face.
Manually Set Your Focus Points
The printed manual for your camera will be confusing and mostly useless, but do flip through it to find the part about controlling what part of the frame the camera will try to focus on. With this new shallow depth of field you’re enjoying, you can no longer allow the camera to guess at what to focus on, nor can you center-focus, half-press the shutter, and re-frame. You’re now like Maverick trying to get missile lock—do not push that button until the little box blinks on your kid’s eyeball.

Shoot Raw
Shooting raw gives you two wonderful gifts: It opens up a world of processing opportunities for your photos, which is great. But it also greatly limits the amount of futzing you can/must do with the camera itself. You can shoot all night with the wrong white balance, and it doesn’t matter. You don’t have to choose noise reduction settings, or “picture modes.” Just capture moments. Do that other stuff later.
Do That Other Stuff Later
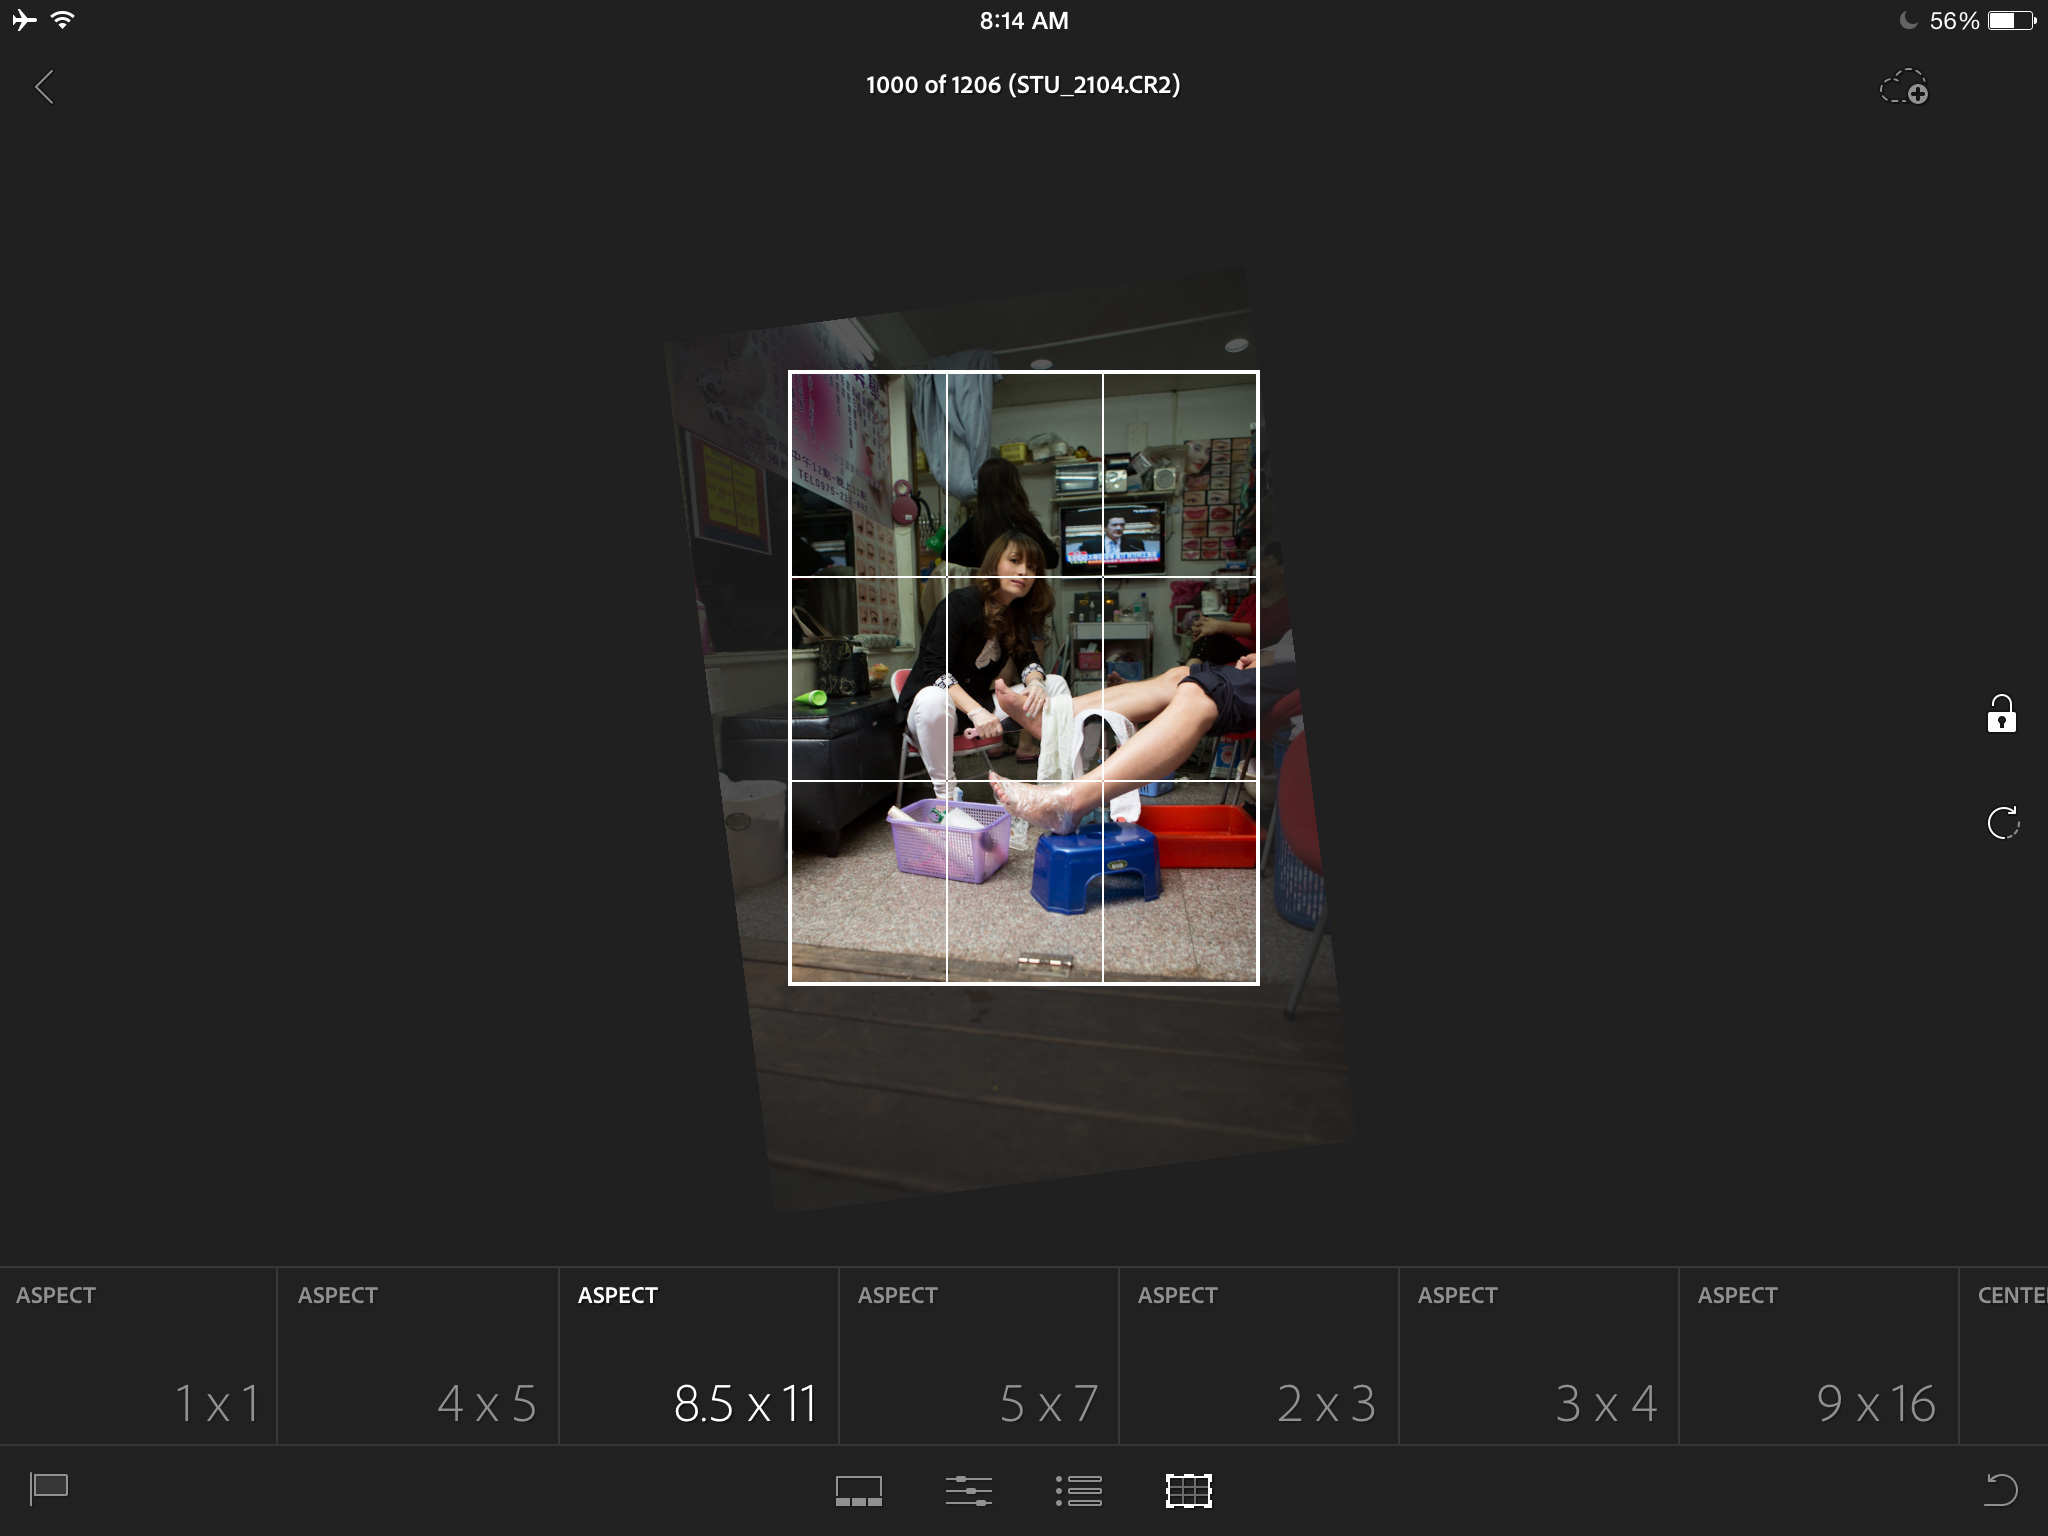
Post-process your photos using Adobe Lightroom. Lightroom is about $100, and worth every penny and more.
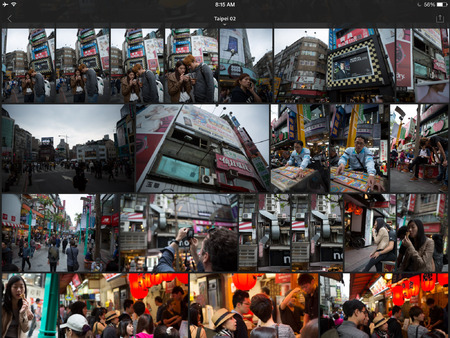
In Lightroom, you’ll both organize and process your photos. If you don’t do either of these things, your photos won’t be good. Failing to process your photos means they’ll look mediocre. Failing to organize your photos means that no one will ever see them.
Shoot A Ton of Shots Like a Crazy Person
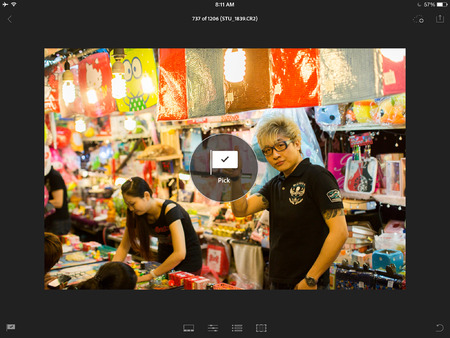
Yesterday I shot 367 photos. When I got home, I immediately deleted 147 of those. I wound up selecting 11 to share with friends.
Being selective like this is the only way to fool your friends into thinking you’re a great photographer. To support your new “spray and pray” method of shooting, you’ll want a couple of big memory cards, which will cost you about $30 each.
Use my Lightroom Presets
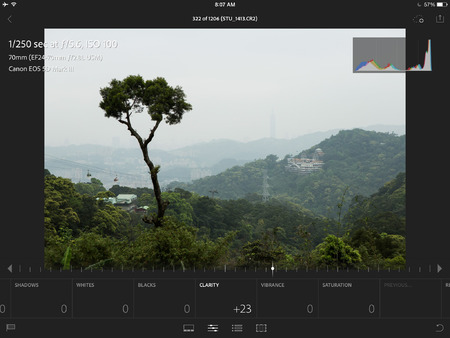
When I said that failing to process your shots means they’ll look mediocre, you might have panicked a little. That’s OK, processing raw photos to look their best is a deep subject. Lightroom’s “develop” controls are powerful, but daunting.
So don’t use them. Do this instead:
My Lightroom presets make developing your shots a “see and react” operation, instead of requiring you to be an expert.
You just spent the best $20 of your photographic life. #marketing
Get Backblaze
Now that you’re shooting several gigabytes every time you pick up your camera, you’re going to accumulate a frightening amount of data. Frightening, because the drive in your computer will fail someday—one of those things that’s not an if, it’s a when. A Time Machine or other local backup is good. An off-site backup is also necessary, in case of blimp attack.
Backblaze is a good choice for photographers because it backs up connected drives, gives you unlimited storage, and has fast upload speeds. Just install it and forget about it.
You just spent $50 for a year of Backblaze.

Actually do this.
Now that you’ve bought all this stuff, the only thing that remains is the habit of actually doing this stuff. Your iPhone camera is damnably good. Good enough that often you’ll be tempted not to schlep your big, heavy DSLR. If you succumb to this temptation, we’re right back to terrible photos, so here’s how to make sure you bring that big mirror-box with you wherever you go: buy a sling-style camera bag. I like the Slingshot series from Lowepro. You wear it across your back, and when you need to shoot, you flip it around to your chest, where the flap with your camera opens easily. It’s super handy, only a little dorky, and can actually be the difference between getting a shot and not.
You just spent $60.
Share!
Now it’s time to share your shots. Here are some rules of thumb:
- Flickr is where you share flower photos with strangers. Period.
- Facebook is, sadly, where real humans that you know will see, and engage with, your photos. Being humans, they are only interested in pictures of other humans. Never put a picture of the Eiffel Tower on Facebook. Only pictures of people.
Boom.
I’m sure you’ve been tempted to buy a camera that costs around $1,000, but the above items, which total well under a grand, will serve you better—and they comprise a real system for making, organizing, and sharing better photos.
Welcome to the world of people complimenting your photography by asking you what kind of camera you use!
Update on Saturday, May 3, 2014 at 10:54PM by
 Stu
Stu
 Monday, April 7, 2014 at 11:39PM